You Raise it, We Braise it
Share
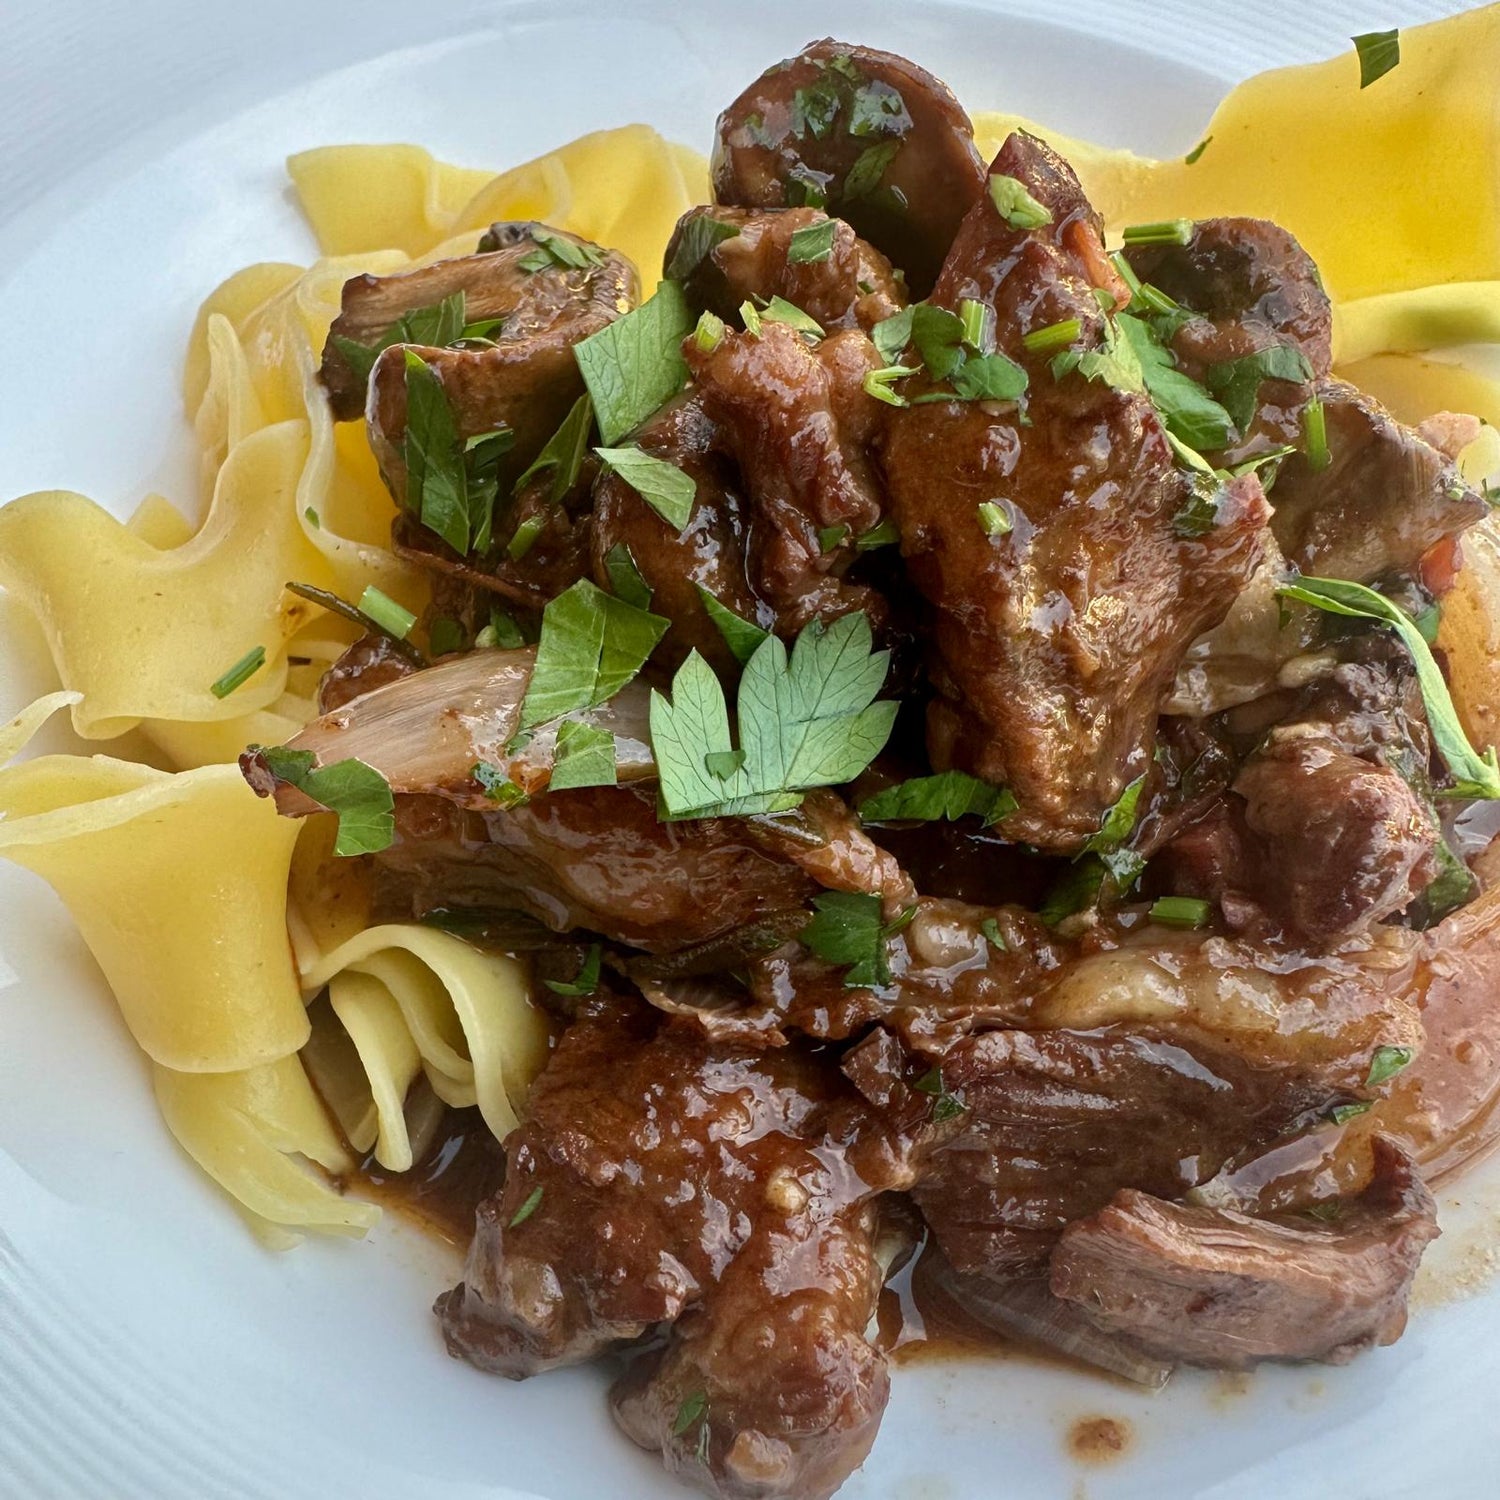
“You Raise it, We Braise it” Blade Roast
This recipe is a real ode to our local farmers and markets. One of the first recipes we made together, with timeless flavours and cooking techniques that must be adhered to. Braising is the ultimate form of hospitality--- giving an otherwise tough piece of meat so much love that its flavour surpasses anything of more value. It is best always to make this the day before for better results, as the meat & sauce become one. A properly braised dish is the ultimate crown achievement in cooking.
Our braised beef is ALWAYS served with a quick pickle escabeche, recipe below!
1 4-lb blade roast, cut into thick pieces (about 6-8 1 ½-2 inch pieces)--ask your favourite butcher to do this for you if you like!
Diamond Crystal Kosher Salt, as needed
oil, as needed (neutral cooking oil such as sunflower or grapeseed)
2 onions, thinly sliced
1 clove garlic, thinly sliced
4-5 generous sprigs of thyme
1-2 sprigs rosemary
1-2 large carrots, sliced in half lengthwise, and then into ½ inch slices or matchsticks
½ bottle of red wine
2 cups good quality whole canned tomatoes
1. Begin by salting the meat (if you have the time, salt the meat the day before for even better results). Salt all sides of the meat with abandon—sprinkle out of hand, be liberal, about 4 tsp. in total
2. Brown the meat: choose to brown in a metal frying pan or a heavy large pot with which you will braise in. Whatever you choose you will need to do two things: pre-heat your pot or pan over medium-high heat until it is very hot (without oil) and likely brown the meat in batches.
3. Once your pot/pan is hot, add a thin layer of oil, followed by the meat, not crowding your pot/pan.
4. Let brown until the surface is really crusty and dark; turn over and brown other side. Turn on your hood fan & open a window. It should be loud and a bit smoky. A good rule of thumb: when you think it is brown enough, give it another minute.
5. Continue to brown the meat in batches but take care--- do not have your pot/pan so hot that the bottom begins to blacken. If this starts to happen before all of the beef is browned, add a splash of water or wine to the bottom, scrape clean, and then continue with remaining beef, starting with step 3. You can adjust your heat a little lower if this begins to happen.
6. Once beef is all browned, remove to a bowl off to the side.
7. Add onions to pot; stir constantly with a wooden spoon to release their juices, as this begins the deglazing process (dissolving all of those lovely browned bits on the bottom of the pan)
8. Once onions are soft and lightly browned, add in garlic, herbs and carrots. Cook and stir for a few minutes before adding wine
9. Bring the wine to a boil, continuing to scrape up any browned bits from the bottom of the pot. Let wine reduce by about half.
10. Stir in tomatoes, breaking up any large pieces with your wooden spoon, and allow to thicken for a few minutes
11. You can now continue with the braising process: if you did all of your browning/deglazing in a frying pan, place everything now into a heavy pot with a lid along with all of the beef and any collected juices that may have formed in the bowl.
12. Add enough water just to cover
13. Bring to a simmer over medium-high heat.
14. You have two options now: 1. Cover, and then cook in a 325°F oven for 2 ½-3 hours or 2. Cover and cook over low heat for 2 ½-3 hours.
15. Your braised dish is ‘done’ when the meat is completely fork tender, but remember it is best when allowed to cool, then cover and chill overnight in the refrigerator.
16. Gently reheat on the stove over medium heat for 30-45 minutes or in a 350°F oven for 45-60 minutes.
17. Sauce should be thick. If it needs thickening, remove the meat and bring to a boil for a few minutes over medium-high heat.
18. Remove and then ‘pull’ meat apart using 2 forks. Enjoy this beef on its own, in a bun, with mashed potatoes, couscous, noodles etc., but be sure to serve with some pickles!
Vegetable Escabeche
A quick vegetable pickle that is the perfect marriage with rich braised meats, in veggie wraps, on sandwiches or burgers, or just on their own. Choose your own adventure when it comes to the vegetables, these are just suggestions. As long as they are thinly sliced!
2 cloves garlic, smashed
¾ cup vinegar, rice wine, apple cider or a good white wine vinegar
¼ cup water
¼ cup sugar
1/8-cup kosher salt (Diamond Crystal is our favorite)
2 Tbsp. freshly chopped herbs such as tarragon, parsley or dill
1 large carrot, thinly sliced (use a vegetable peeler to get nice thin ribbons)
1 zucchini, thinly sliced into ribbons
½ medium red onion, thinly sliced
½ fennel bulb, thinly sliced
-
In a saucepan, combine garlic, vinegar, water, sugar, salt and herbs. Bring to a boil over high heat. Reduce heat and simmer until sugar is dissolved, about 3 minutes.
-
Have vegetables ready in a wide bowl. Pour hot pickling liquid over vegetables, cover and refrigerate for 15 minutes or for up to 12 hours.
-
Keeps well in the refrigerator for about a week.